Pimp My Terminal
By Gonçalo Marantes / Wednesday, September 8, 2021 / 15 minutes
#Technical #Miscellaneous
For us developers, our terminal is our one stop shop for pretty much anything. We rely on it for installing packages, perform system analysis and spring up whole software projects. For those reasons, we should show it some love and affection.
Just yesterday, I performed a fresh install on my personal computer as I strongly needed to do so. I decided to install the latest version of Solus OS with Budgie desktop environment and give it a go. (Who doesn't like to try out a new flavor of Linux from time to time?).
The problem was that the default terminal looks kind of sad, so I decided to spruce things up a bit to make it easier for me to look at it. Budgie uses gnome-terminal, so if you are rocking the reliable Ubuntu LTS version with Gnome, setup will be very similar to this.
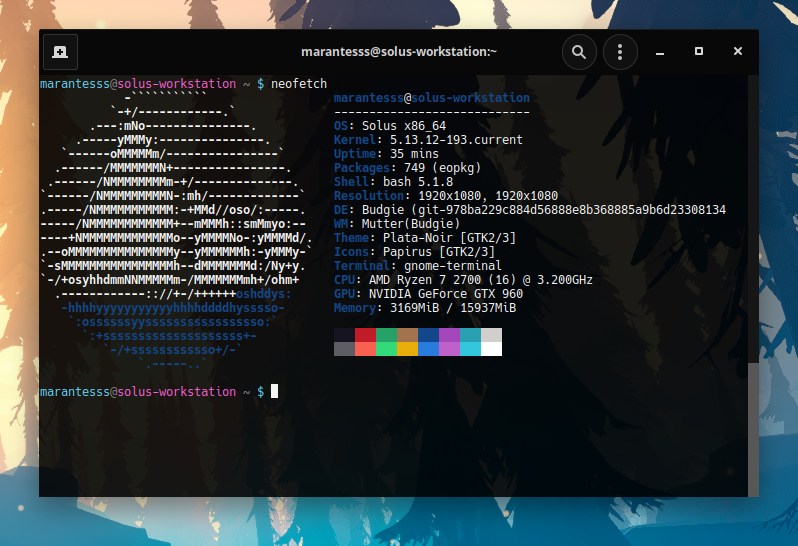
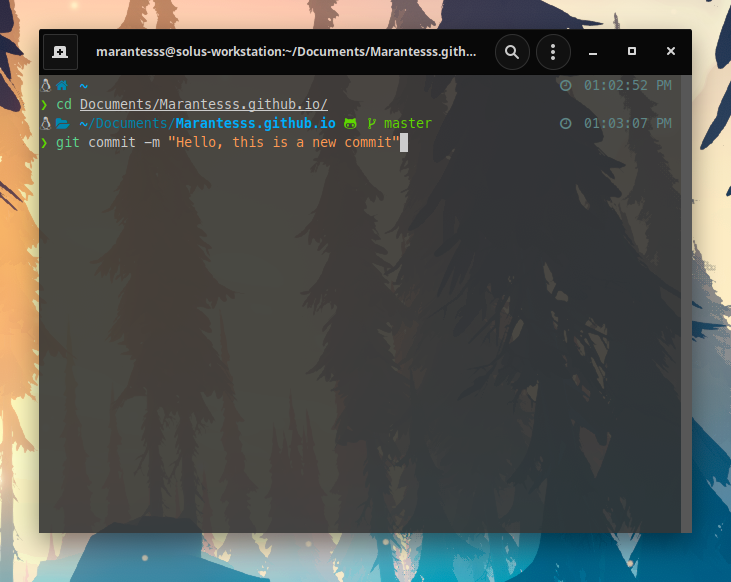
Our starting point is the following:
Fonts
We need to get rid of the default old-looking font that comes with bash. And we need to replace it with a modern font that supports glyphs or icons. Who doesn't like icons?
You've probably already heard of the Nerd Fonts project, it basically aggregates your favorite fonts with icons from Font Awesome and other sources, in order for you to have everything in one place. There are many projects similar to Nerd Fonts, just pick one and go for it. I'm going with Meslo.
Color your terminal
Now that we have a cool font, we need some colors on our terminal. Luckily, there's a project called Gogh where we can choose our favorite color palette in less that 5 seconds. Unfortunely, this project is only compatible with Gnome Terminal, XFCE4 and some others, this means that if you're using KDE with Konsole, it won't work. You can visit the KDE store instead!
To run Gogh, simply run:
bash -c "$(wget -qO- https://git.io/vQgMr)"
and pick the profiles you want to install. I'm going with DeHydration.
Zsh and Oh My Zsh
Out of the box, your Linux distro is probably using Bash, plain boring bash... I prefer to use Zsh due to easier configuration, community developed plugins and much much more.
Zsh is a shell designed for interactive use, and with a powerful community you can easily find anything you need. Oh my Zsh is basically a framework that helps you install plugins, themes and other helpful stuff.
Installing Zsh
# SolusOS
sudo eopkg install zsh # zsh
# Ubuntu/Debian
sudo apt install zsh
# ...
# other distros can be found here
# https://github.com/ohmyzsh/ohmyzsh/wiki/Installing-ZSH
Installing Oh My Zsh
sh -c "$(curl -fsSL https://raw.githubusercontent.com/ohmyzsh/ohmyzsh/master/tools/install.sh)"
PowerLevel10k
Powerlevel10k is a Zsh theme than can be easily installed with Oh My Zsh.
# Clone the repository
git clone --depth=1 https://github.com/romkatv/powerlevel10k.git ${ZSH_CUSTOM:-$HOME/.oh-my-zsh/custom}/themes/powerlevel10k
And then set ZSH_THEME="powerlevel10k/powerlevel10k" in ~/.zshrc.
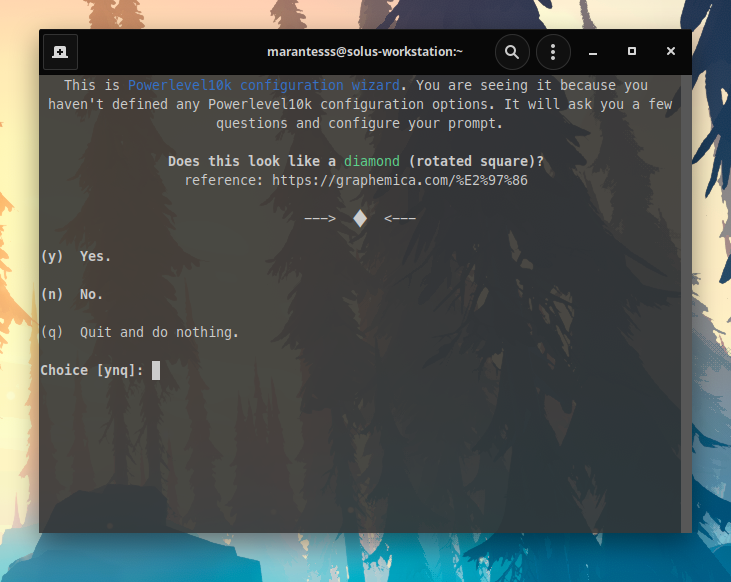
You will then be prompted with the theme setup options:
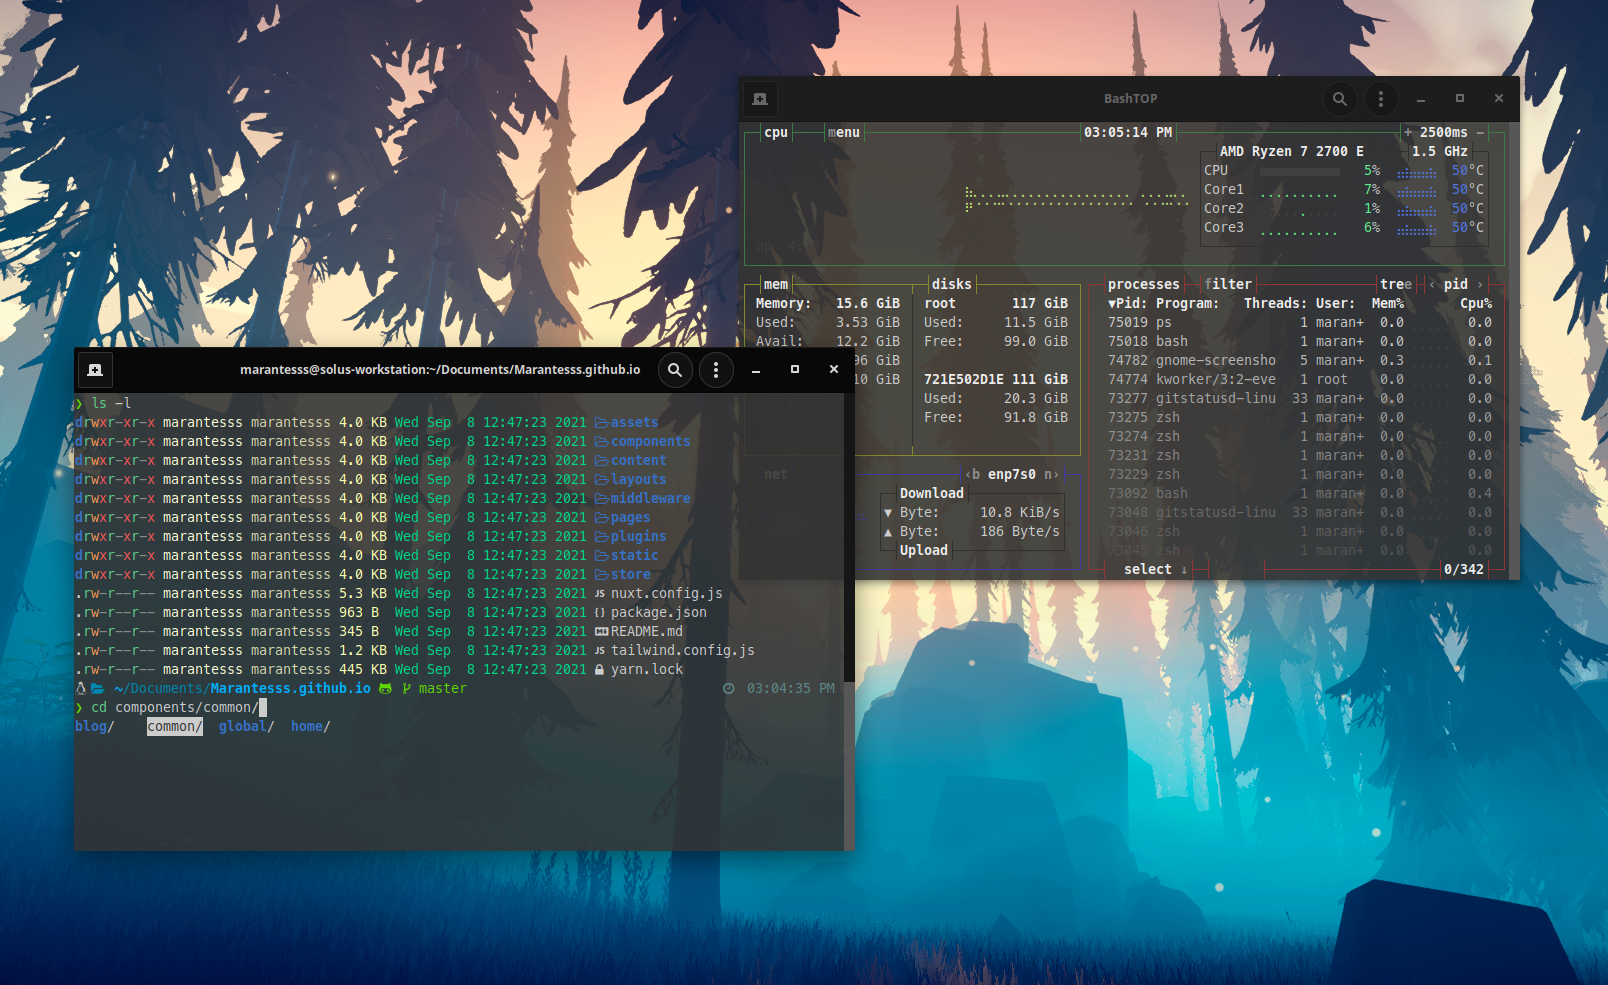
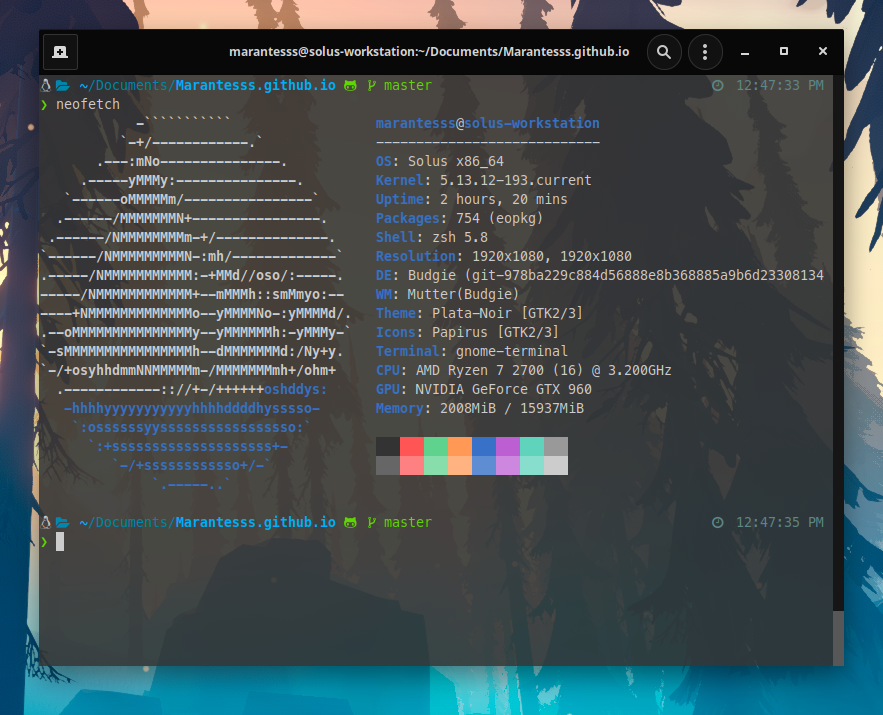
Feel free to customize your terminal however you want.
Mine ended up looking like this:
Troubleshooting Visual Studio Code Terminal
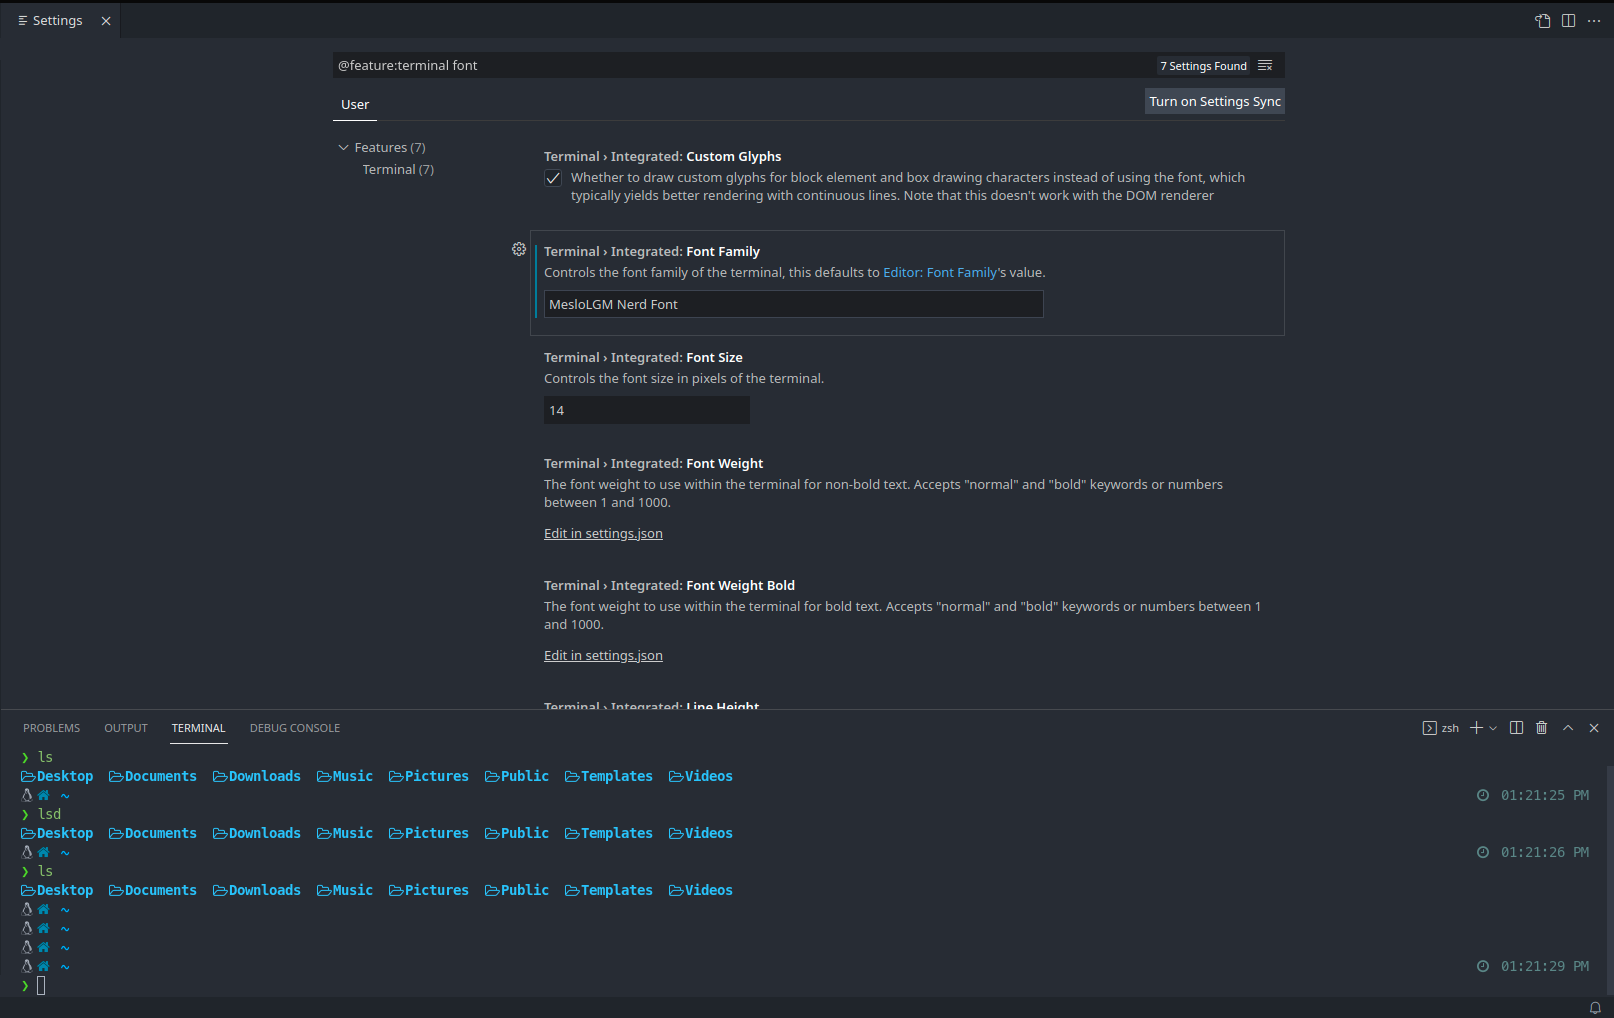
It is possible that visual studio code's terminal will look something like this:

This is happening because we haven't set VSCode's terminal font to the one we've just configured. To do this, just press ctrl + shift + p and write down terminal settings. Then search for the Font Family option and replace it with your new font.
Useful commands
Now that we have Zsh installed, we can install some commands that can help us.
ls, lsd and tree
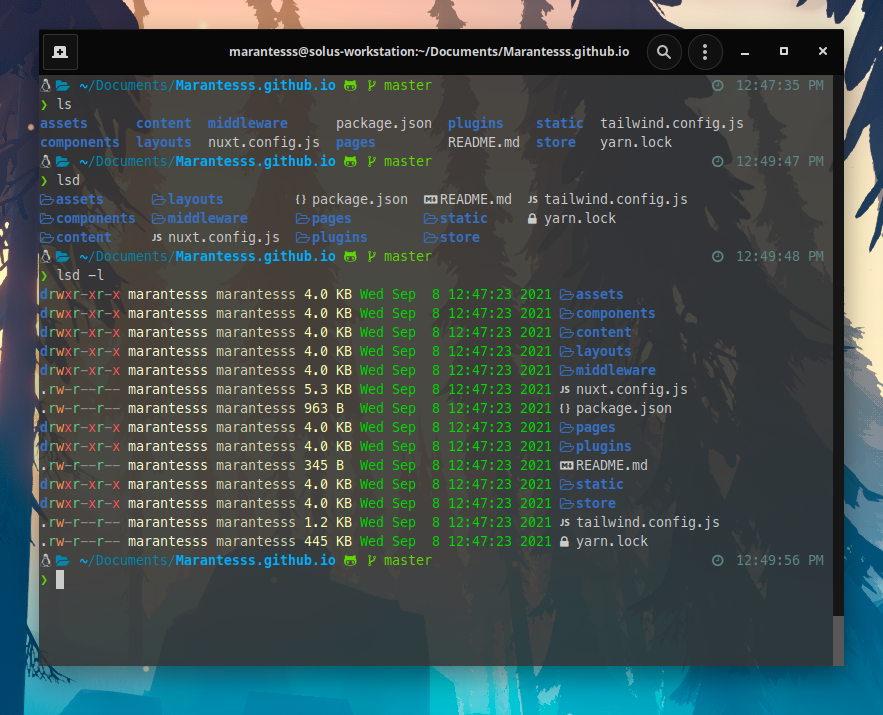
lsd is a replacement for ls that can mainly makes the output prettier, adding icons and colors.
Firstly you need to install lsd
# Solus
sudo eopkg install lsd
# Ubuntu/Debian
sudo apt install lsd
You can easily replace the traditional commands with new one by simply editing your zshrc file, just add the following lines:
# replace ls with lsd
command -v lsd > /dev/null && alias ls='lsd --group-dirs first'
# replace tree with lsd --tree
command -v lsd > /dev/null && alias ='lsd --tree'
Now everything should work like a charm.
Zsh Plugins
There are a lot of plugins available out there, and some might be more useful than others depending on your use cases. Nonetheless I suggest you take a look at the plugins that zsh comes bundled with.
Below, you can find some other plugins that don't come out of the box with zsh, but are extremely useful.
Autosuggestions
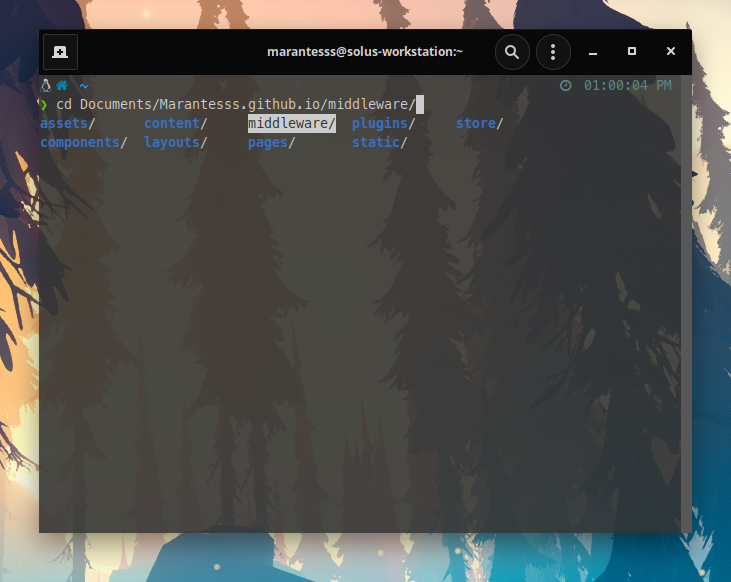
This plugin helps you navigate your command options, making it easier for you to run whatever you need. To install with Oh My Zsh, you only need to clone the repo and add the plugin to .zshrc.
# clone the repo
git clone https://github.com/zsh-users/zsh-autosuggestions ${ZSH_CUSTOM:-~/.oh-my-zsh/custom}/plugins/zsh-autosuggestions
# in .zshrc
plugins = ( <some other plugins> zsh-autosuggestions)
Syntax Highlighting
Who doesn't enjoy seeing color coded stuff while we write some commands? This plugin does just that. Just like the previous one, installation is as simple as can be.
# clone the repo
git clone https://github.com/zsh-users/zsh-syntax-highlighting.git ${ZSH_CUSTOM:-~/.oh-my-zsh/custom}/plugins/zsh-syntax-highlighting
# in .zshrc
plugins = ( <some other plugins> zsh-syntax-highlighting)
Conclusion
I hope you've found this article helpful and that you've found a way to boost your productivity. You can take a look at my dotfiles if there's something left unclear.
Feel free to show me your terminal setup on Twitter.
Happy scripting 🦄